Ever thought about creating an aerial surveillance system using a drone purchased on eBay, a notebook, and Deep Learning techniques applied to Computer Vision problems?
In this YouTube video, I want to show you not only how I implemented this architecture, but also demonstrate the project in action. And what better way to do that than with some flights within a Air Force Base?
Watch the video above to learn how I trained a deep neural network in TensorFlow and built a pipeline capable of detecting objects from real-time video streamed by a drone in flight.
What are the applications of computer vision in drones
A drone is an unmanned aerial vehicle (UAV) remotely controlled, which can be used for various purposes, such as defense, security, leisure, and even delivery of goods. The fact is, as options on the market become increasingly affordable, the range of possible applications expands.
Wedding filming, celebrity sightings by paparazzi, high voltage line maintenance, aerial surveillance, and purely recreational flights (the famous “flying for the pleasure of flying”) are just a few examples of the many applications for drones.
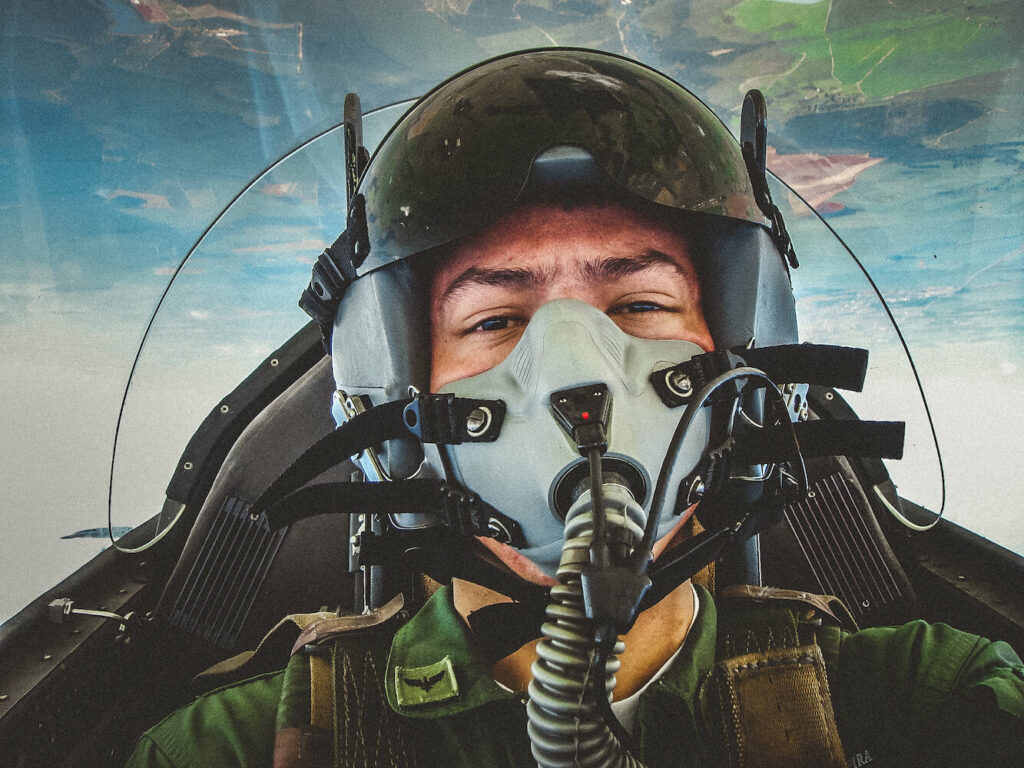
Since I was a pilot and had a brand-new drone to test, I thought, ‘Why not use Deep Learning to implement a practical case?’
These devices are gaining importance due to their characteristics: low mass (made from low-density materials), small size (easy access to many environments), long-range, and especially, high autonomy.
Specifically, some of the thousands of hours of my operational flying life were spent on alert missions in certain locations, such as Natal Air Base (BANT), Barreira do Inferno Launch Center (CLBI), Alcantara Launch Center (CLA), Brigadeiro Velloso Test Field, and the Air Force Academy (AFA). Since these are restricted areas, this type of mission aimed to verify if there were unauthorized people in those locations.
I don’t know if you’re aware, but the cost of operating a military aircraft per flight hour is extremely high. If you add to that equation all the professionals involved, the size of the areas to be monitored, and the number of missions that the Brazilian Air Force must constantly fulfill, it’s easy to understand my motivation for developing a solution based on commercial drones.
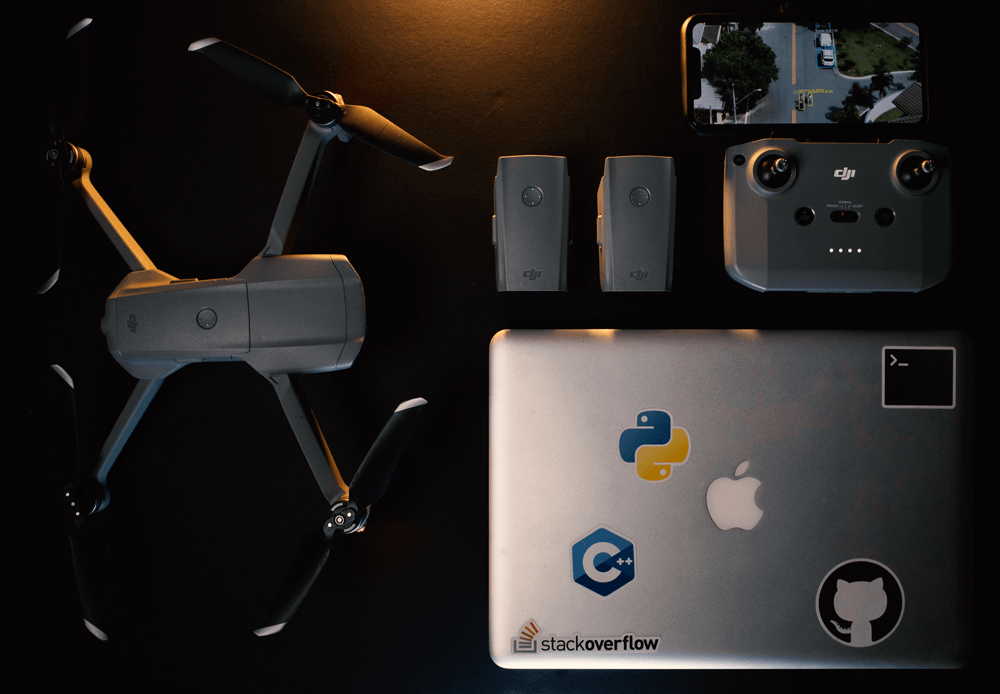
DJI Mavic Air 2 Specifications
The drone model I own is the DJI Mavic Air 2, a fantastic piece of equipment to fly. Weighing just 570 grams, the Mavic Air 2 can fly for up to 34 minutes, reach over 18 kilometers in distance, and has a maximum flight ceiling (maximum altitude) of 5,000 meters.
Additionally, it can reach speeds of nearly 70 km/h under ideal conditions, record videos at 4K resolution (using internal memory or a memory card), and is capable of streaming video at 720p quality at 30 fps (frames per second).
Another fantastic feature of this model is the ability to attach your smartphone to the controller (joystick) and receive flight information directly on your screen.
Project Overview
The data pipeline, applications, and architecture choices were made based on the equipment I had available at that time. If you want to replicate the project, I recommend researching whether they would also be the most suitable options for you.
For example, I know there are drones capable of transmitting images directly to the computer without using a smartphone as an intermediary.
To solve this problem, since the images from the drone’s camera were displayed on my smartphone screen while I was piloting, I installed the “Prism Live Studio” app (available for free on iPhone and Android). With this app, I was able to stream my phone’s screen (using the RTMP protocol) to the computer.
Before anything else, I needed all devices to be connected to the same network, with local IP addresses assigned to each of them. This was easy, as I simply created a hotspot from my smartphone and connected my MacBook to that Wi-Fi network.
However, just because all devices are connected to the same network doesn’t mean you can access each of them. To receive the transmission from my smartphone’s screen, I installed NGINX on my MacBook using Homebrew (a package manager for Mac, similar to APT or YUM for Linux), which allowed me to create an RTMP server on the machine.
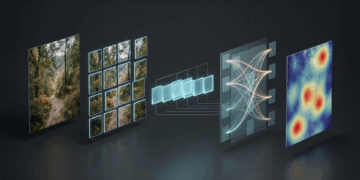
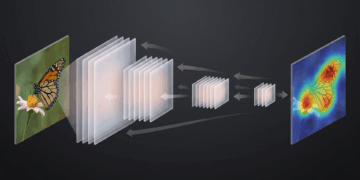
Implementing YOLO with TensorFlow
The architecture used for the project was the well-known YOLO, trained on the COCO dataset. Depending on your application, you can choose whether to keep all possible classes or select only some of them (cars, people, motorcycles, etc.).
The first part of the code imports the packages used in the object detector (based on the TensorFlow API) and defines constants related to the model’s sensitivity.
# REFERÊNCIAS
#
# Implementação da arquitetura YOLO baseada no artigo YOLO object detection with OpenCV
# do Adrian Rosebrock, autor do livro Deep Learning for Computer Vision


# importar os pacotes necessários
import numpy as np
import argparse
import os
import cv2
import time
from imutils.video import VideoStream
from imutils.video import FPS


# constantes do modelo
CONFIDENCE_MIN = 0.4
NMS_THRESHOLD = 0.2
MODEL_BASE_PATH = "yolo-coco"

# receber os argumentos para o script
ap = argparse.ArgumentParser()
ap.add_argument("-i", "--input", required=True, help="Endereço do streaming do drone")
streaming_path = vars(ap.parse_args())['input']
Since we are looking for real-time processing of the streaming video, and not loading a static file of some video, we import the VideoStream e FPS objects from the fantastic imutils library.
After execution, the script will load the trained YOLO model, with its weights and configurations passed within the yolov3.cfg file, the defined names (labels), and extract the unconnected layers of the architecture.
# extrair os nomes das classes a partir do arquivo
print("[+] Carregando labels das classes treinadas...")
with open(os.path.sep.join([MODEL_BASE_PATH, 'coco.names'])) as f:
    labels = f.read().strip().split("\n")

    # gerar cores únicas para cada label
    np.random.seed(42)
    colors = np.random.randint(0, 255, size=(len(labels), 3), dtype="uint8")

# carregar o modelo treinado YOLO (c/ COCO dataset)
print("[+] Carregando o modelo YOLO treinado no COCO dataset...")
net = cv2.dnn.readNetFromDarknet(
    os.path.sep.join([MODEL_BASE_PATH, 'yolov3.cfg']),
    os.path.sep.join([MODEL_BASE_PATH, 'yolov3.weights']))

# extrair layers não conectados da arquitetura YOLO
ln = net.getLayerNames()
ln = [ln[i[0] - 1] for i in net.getUnconnectedOutLayers()]
After run, the script will load the trained YOLO model, with its weights and configurations passed within the yolov3.cfg file, the defined names (labels), and extract the unconnected layers of the architecture.
Please note that in my Github repository, containing the complete code, I did not provide the model due to its size. However, as you can see, you can download it by calling the cv2.dnn.readNetFromDarknet() method.
If you have already implemented a Deep Learning model for classification from local files, you probably manipulated each of the frames loaded by OpenCV. In practice, this means that a video with a 30 fps rate has 30 images per second, and all of them will pass through the neurons of the model.
However, when we are looking for real-time analysis, we probably won’t be able to keep up with that frame rate without powerful equipment. It’s a trade-off, of course, where we will sacrifice the fps rate to gain agility.
# iniciar a recepção do streaming
vs = VideoStream(streaming_path).start()
time.sleep(1)
fps = FPS().start()
print("[+] Iniciando a recepção do streaming via RTMP...")
To achieve this processing, we instantiate a VideoStream(streaming_path) object, with the passed argument being the drone’s address via the RTMP protocol.
Once we are acquiring the frames from the provided network address, we simply iterate through them. Depending on the machine you have, you may achieve a higher or lower fps rate.
# iterar sobre os frames do streaming
while True:
    frame = vs.read()

    # caso se deseje redimensionar os frames
    # frame = cv2.resize(frame, None, fx=0.2, fy=0.2)

    # capturar a largura e altura do frame
    (H, W) = frame.shape[:2]

    # construir um container blob e fazer uma passagem (forward) na YOLO
    blob = cv2.dnn.blobFromImage(frame, 1 / 255.0, (416, 416), swapRB=True, crop=False)
    net.setInput(blob)
    layer_outputs = net.forward(ln)

    # criar listas com boxes, nível de confiança e ids das classes
    boxes = []
    confidences = []
    class_ids = []

    for output in layer_outputs:
        for detection in output:
            scores = detection[5:]
            class_id = np.argmax(scores)
            confidence = scores[class_id]

            # filtrar pelo threshold da confiança
            if confidence > CONFIDENCE_MIN and class_id in [0, 1, 2, 3]:
                box = detection[0:4] * np.array([W, H, W, H])
                (center_x, center_y, width, height) = box.astype("int")

                x = int(center_x - (width / 2))
                y = int(center_y - (height / 2))

                boxes.append([x, y, int(width), int(height)])
                confidences.append(float(confidence))
                class_ids.append(class_id)
In summary and within what is possible to explain in a blog article, the code above identifies the dimensions of the transmitted frames, constructs a “blob container,” and performs a forward pass through the YOLO already loaded with weights trained on the COCO dataset.
To store the possible detections, lists are created to store the coordinates of the rectangles, the prediction confidence, and the class identifiers associated with each of the predictions.
    # eliminar ruído e redundâncias aplicando non-maxima suppression
    new_ids = cv2.dnn.NMSBoxes(boxes, confidences,CONFIDENCE_MIN, NMS_THRESHOLD)
    if len(new_ids) > 0:
        for i in new_ids.flatten():
            (x, y) = (boxes[i][0], boxes[i][1])
            (w, h) = (boxes[i][2], boxes[i][3])

            # plotar retângulo e texto das classes detectadas no frame atual
            color_picked = [int(c) for c in colors[class_ids[i]]]
            cv2.rectangle(frame, (x, y), (x + w, y + h), color_picked, 2)
            text = "{}: {:.4f}".format(labels[class_ids[i]], confidences[i])
            cv2.putText(frame, text, (x, y - 5), cv2.FONT_HERSHEY_SIMPLEX, 0.5, color_picked, 2)

    # exibir o frame atual
    cv2.imshow('frame', frame)

    # sair, caso seja pressionada a tecla ESC
    c = cv2.waitKey(1)
    if c == 27:
        break

    # atualiza o fps
    fps.update()


# eliminar processos e janelas
fps.stop()
cv2.destroyAllWindows()
vs.stop()
In this last part, I try to eliminate noise and redundancies with a suitable filter and draw a rectangle for each prediction that is above the CONFIDENCE_MIN, NMS_THRESHOLD thresholds.
As long as the user doesn’t cancel the processing, our script will continue to iterate through the frames being transmitted by the drone.
Trained model, authorized takeoff!
With the trained model loaded, don’t forget to start the NGINX-based server (if it’s not active by default).
You’ll also need the address of your smartphone on the network to provide as an argument when running the script (remember that since my drone doesn’t have the capability to transmit directly over the network, we’re capturing the drone’s view from the smartphone’s screen).
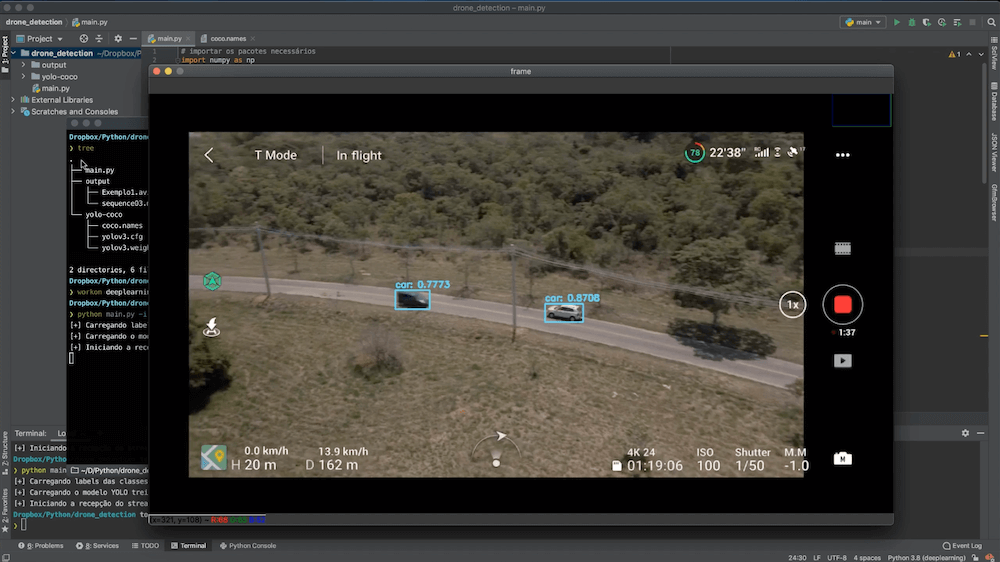
After starting to monitor port 1935 and capturing RTMP packets with OpenCV, the frames will start passing through YOLO, and you’ll see the first objects appear on the screen, with their corresponding bounding boxes.
Summary
Recapping the main steps of the project, we followed the sequence described below:
- Created a hotspot from the smartphone and connected my laptop to it, same network.
- Installed NGINX on the laptop to create an RTMP Server.
- Streamed the smartphone’s screen to the laptop using the PRISM Live mobile app.
- Ran a Python script to monitor port 1935 and capture RTMP packets with OpenCV.
- Processed the frames using the deep learning YOLO architecture, trained on the COCO dataset.
This aerial surveillance system has the potential to significantly reduce the cost of monitoring large areas, as compared to using manned aircraft for the same purpose.
In this project, I combined drone technology and Computer Vision techniques to create an aerial surveillance system. The project involved streaming real-time video from a DJI Mavic Air 2 drone to a laptop, where a YOLO-based object detection model was applied to identify objects in the video feed.


Muito bom e bem necessário